Authorising Pods
One of the key benefits of using Bitfount is the ability to set granular authorisation policies against your datasets to ensure they are protected according to your needs. Before any analysis can occur, you must grant a collaborator access to a Pod. You can then specify the permissions your collaborators have when analysing the data in the Pod.
Note: Bitfount currently enables only the user who created the Pod to grant access to a given Pod.
💡 Pro-Tip: Check out our Bitfount Pod Policies guide for details on all available policies. If authorising data on behalf of an organisation, we recommend coordinating with your governance team in order to determine the appropriate policies for each Pod.
Managing Access
- Log in to Bitfount Hub.
- Navigate to the “My Pods” page from the main navigation bar.
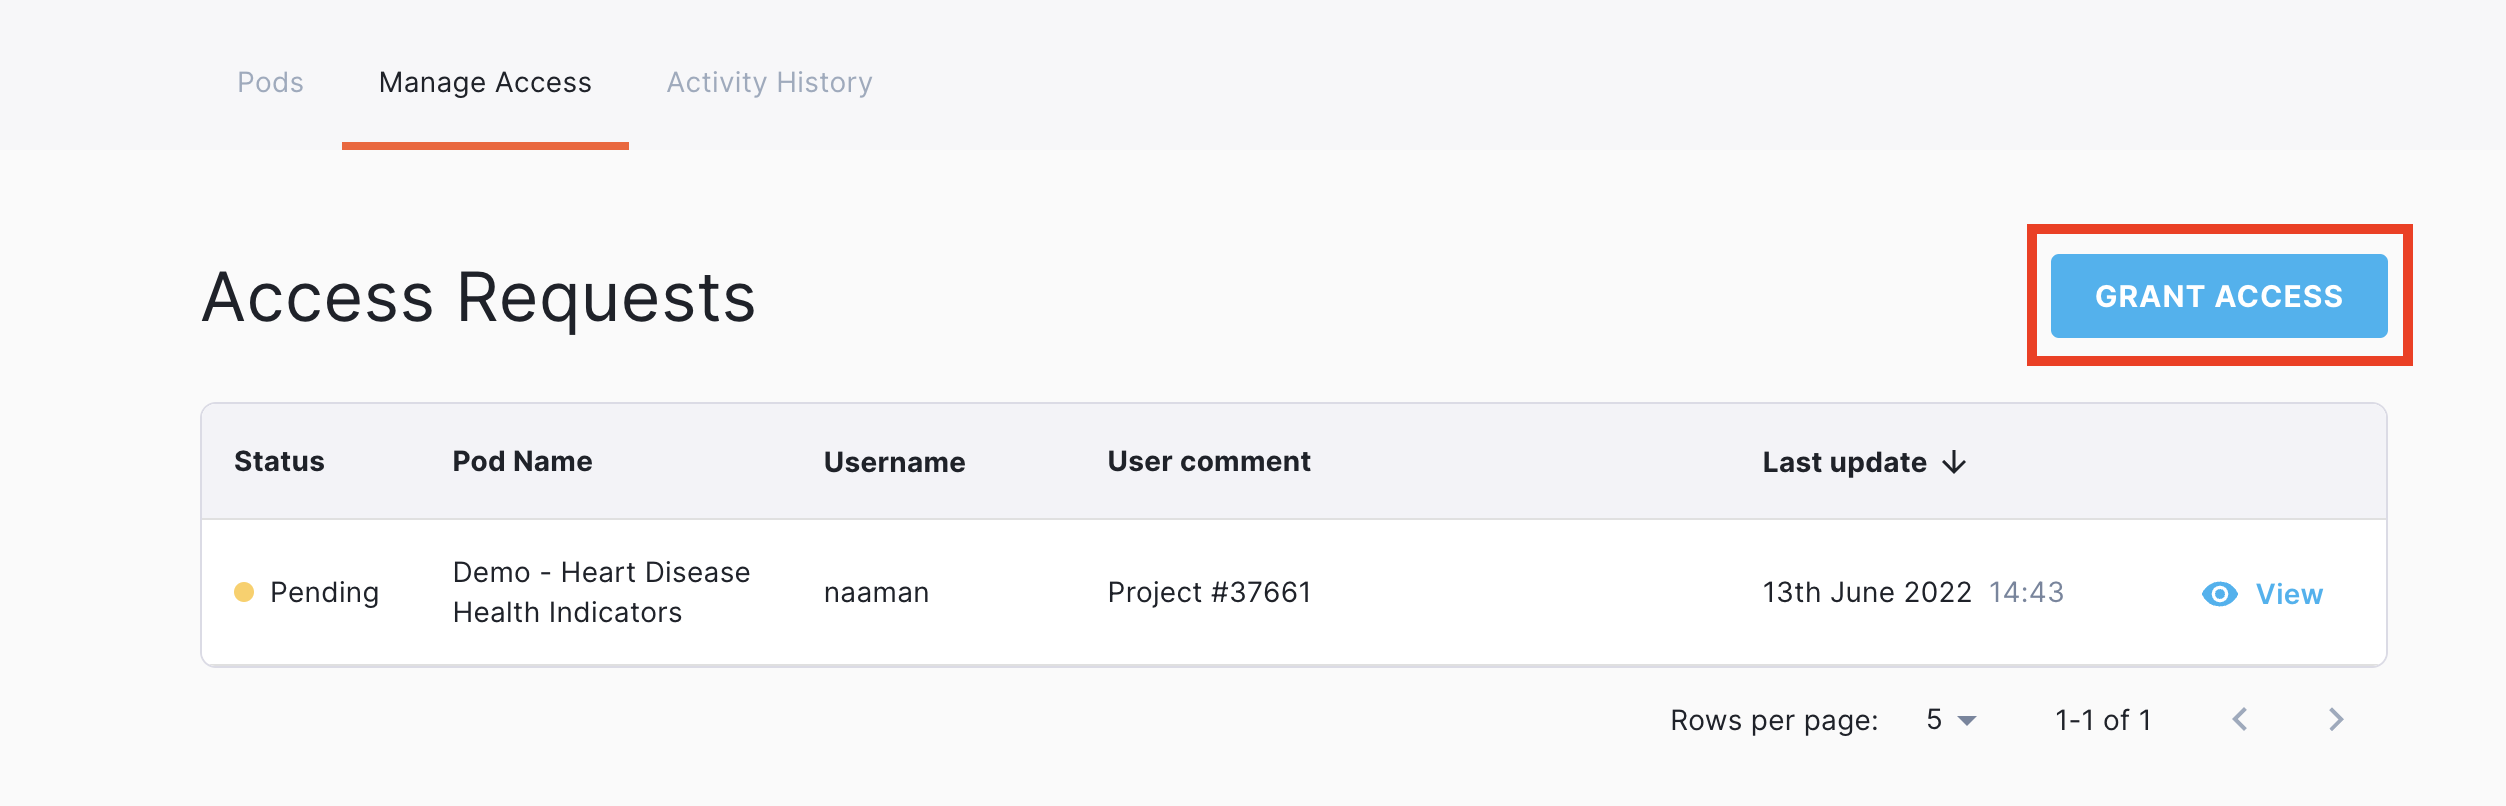
- Navigate to the “Manage Access” tab.
- Click the “Grant Access” button in the top right:
- Enter or select the desired Pod name from the dropdown menu.
- Input the username for the Bitfount user to whom you’d like to grant Pod access in the “User” field. This is the user’s Bitfount username as indicated by their profile in the Hub. If you do not know it, you will need to ask your collaborator for this input.
- Using the “Assign role” dropdown, assign the user the role you’d like them to have in relation to the specified Pod. The role you specify will indicate what the user can do with the data associated with the Pod, so it is important to ensure you assign the role correctly based on the Permissions outlined in the role dropdown.
⚠️ WARNING: By granting access to a Pod, you are agreeing that grantees are able to perform tasks against it as well as any Pods to which they also have access. Grantees can only perform tasks according to the role you assign them. Note, multi-Pod tasks can only be performed against Pods with the same column layout and unique values within the columns.
💡 For more details on role types, see Bitfount Pod Policies.
Editing & Revoking Access
If you accidentally assign the wrong role to a collaborator or wish to terminate a collaboration, you can change the role settings for a user by revoking access to the Pod.
Access can be revoked as follows:
- Navigate to “My Pods” > “Manage Access”.
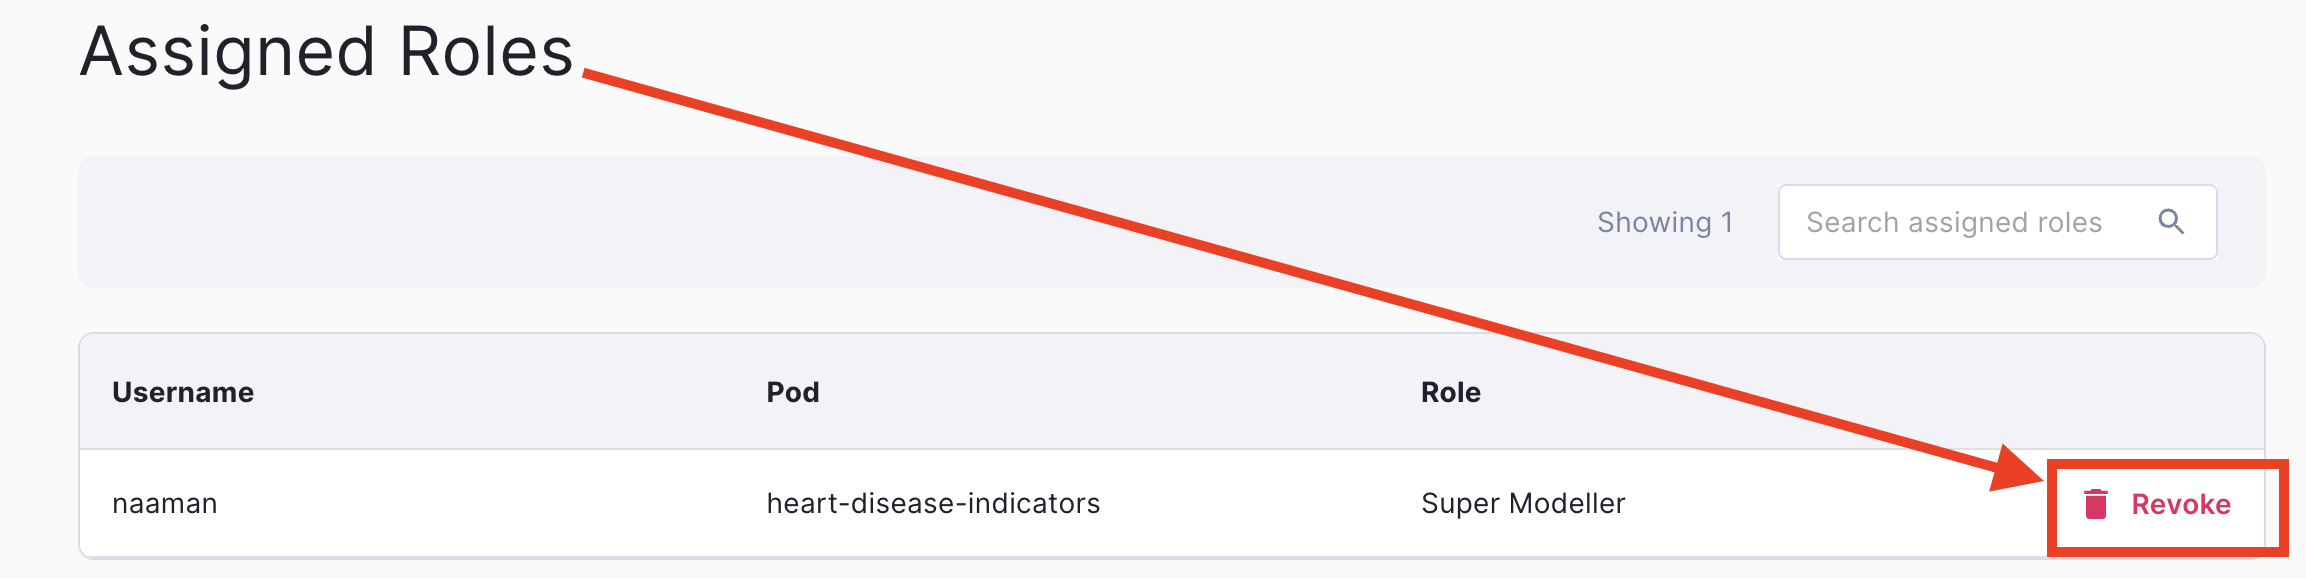
- Scroll down to the “Assigned Roles” section.
- Locate the user(s) from whom you wish to revoke access.
- Click the “Revoke” bin icon.
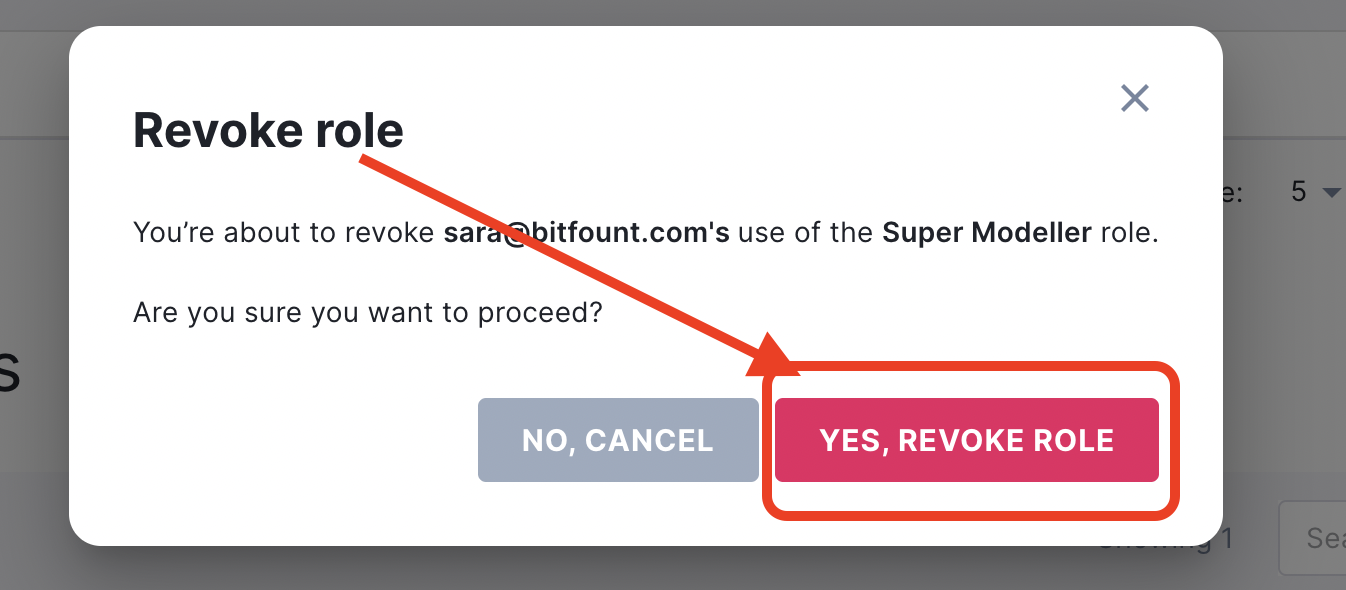
- Confirm you’d like to revoke the role by clicking “Yes, Revoke Role”.
Additional Policies
Bitfount also supports several additional Pod access, role, and dataset permissions policies you may wish to apply depending on the sensitivity of the dataset associated with the Pod you are authorising. These include but are not limited to privacy-preserving data science policies, granular use case controls, and other Pod access policies. For a complete list of these policies with detailed explanations, see Bitfount Pod Policies.
Next Steps
Now that you’ve authorised access to your Pod, you or your collaborators are ready to analyse data! Check out the For Data Scientists section for next steps.